Pro Surface Prep Methods to Elevate Ceramic Coating Results: A Complete Guide
Getting the best finish from a ceramic coating isn’t just about applying the product and moving on. The truth is, how well your coating performs largely depends on the preparation of the vehicle’s surface. Proper surface prep, including cleaning, removing contaminants, and smoothing out imperfections, significantly impacts durability and shine. In this guide, we’ll walk you through the essential steps that professionals use to ensure that ceramic coatings last longer and look better.
Professional surface preparation involves a detailed process, including thorough hand washing with pH-balanced shampoo, clay bar treatment to remove contaminants, and machine polishing to eliminate imperfections. These steps, performed in controlled environments with proper tools and chemicals, ensure optimal adhesion, durability, and long-lasting shine for your ceramic coating.
Cleaning and Contaminant Removal
Step 1: Thorough Hand Wash
The first step in surface prep is a thorough rinse with a high-pressure hose to remove loose dirt and particles. This prevents scratches during washing. Next, use a pH-balanced car shampoo and a soft wash mitt. This combination effectively lifts grime from the surface without stripping any existing protective layers like wax or sealants.
The pH-balanced shampoo is designed to clean effectively while being gentle on your vehicle’s finish. Harsh soaps can leave the paint vulnerable, while overly gentle washes may not remove enough debris.
Think of washing as prepping a canvas. If the surface isn’t clean, no amount of polishing or coating will give the desired effect.
Step 2: Tar and Iron Remover
After the initial wash, stubborn contaminants like tar and iron fallout may still cling to the paint. Tar remover breaks down sticky organic deposits such as tree sap or asphalt. Following that, an iron fallout remover targets iron particles from brake dust or rail dust. These chemicals dissolve the particles so they can be easily rinsed away.
These chemical treatments are essential because conventional washing cannot remove these particles. Tar remover uses solvents to soften organic residue, while iron fallout removers typically use phosphoric acid-based solutions to react with and dissolve iron particles. Skipping this step can reduce ceramic coating adhesion, as these residues create a barrier between the paint and the coating.
Step 3: The Baggie Test
After washing and applying chemical treatments, some contaminants might still be present. To check, use the baggie test. Slide a thin plastic sandwich bag over your hand and glide it across the vehicle’s surface. If the surface feels rough, it means contaminants remain.
If you feel roughness, it’s time to use an automotive-specific clay bar. This will lift the embedded impurities and leave a smooth surface that promotes better adhesion for the ceramic coating.
Mastering these cleaning and testing steps guarantees a pristine surface, laying the foundation for flawless polishing techniques.
Perfecting the Surface with Clay Bar
The clay bar is an essential tool that physically lifts stubborn particles like tree sap, industrial fallout, and brake dust. These contaminants can interfere with the ceramic coating’s bonding, so it’s crucial to remove them during surface prep.
Proper lubrication is key. Without sufficient lubrication, even the gentlest clay bar can cause micro-scratches. Use a specialized clay lubricant to create a slick cushion for the clay to glide smoothly over the surface. Knead the clay into a manageable shape and gently move it across the panel in slow, deliberate strokes.
As the clay picks up contaminants, it will become smoother. Fold the clay to expose a clean side and continue. Skipping this step can reintroduce dirt back onto the paint, undoing the progress made. After each section, wipe it down with a microfiber cloth to reveal a noticeably smoother finish, which is now ready for polishing or coating application.
For the best results, perform claying in a shaded area at moderate temperatures. Direct sunlight can cause lubricant to dry too quickly, creating drag and the potential for damage. After claying, perform an isopropyl alcohol (IPA) wipe-down to remove any residual lubricant or particles before moving on to polishing or coating.
Using Dual-Action Polishers
Dual action (DA) polishers are a key tool for ceramic coating preparation. These tools use both spinning and oscillating motions, correcting imperfections like swirls, fine scratches, and oxidation without the risk of damaging the paint.
The benefit of a DA polisher is its forgiving nature. Even if you press harder or linger too long on one spot, the chance of damaging the paint is minimal. This makes DA polishers suitable for both professionals and enthusiasts.
Choosing the right pads and compounds is crucial for achieving the best results. Use a soft foam finishing pad with a light polishing compound for minor imperfections and a firmer cutting pad with a more abrasive compound for deeper scratches or oxidation. Make sure to keep your pads clean, as buildup from previous uses can cause uneven results.
To apply the compound, distribute a small amount across the pad by hand in slow circular motions. This prevents waste and avoids fling-off when the polisher starts spinning. Then, apply moderate pressure to keep the polisher in constant contact with the surface. Move steadily across the area in overlapping passes to ensure even correction.
After polishing, inspect under bright light to ensure there are no remaining imperfections. If needed, perform another pass. A well-prepped surface ensures that the ceramic coating will bond effectively, providing years of protection and a high-gloss finish.

Tips for Ceramic Coating Application
Applying ceramic coating requires patience and attention to detail. The workspace should be clean and dust-free, with stable temperatures between 15°C to 24°C (60°F to 75°F) and humidity around 40% to 60% for proper bonding. Extreme temperatures or humidity can interfere with the curing process, so it’s essential to control these conditions.
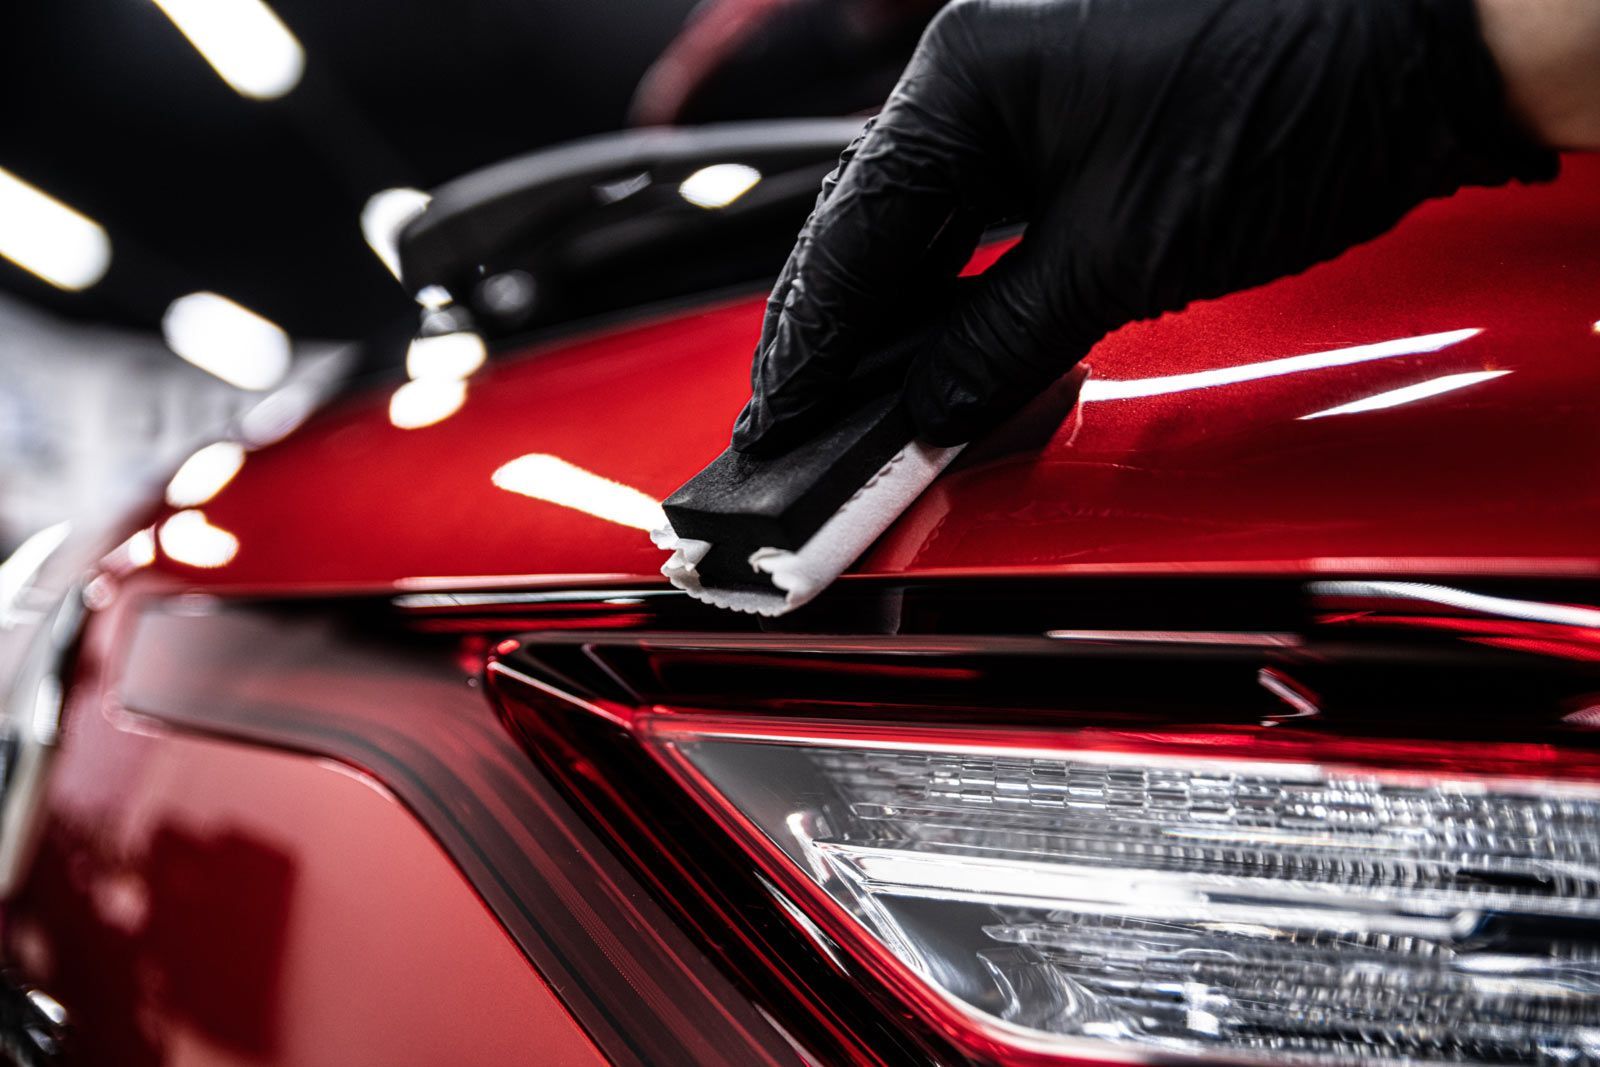
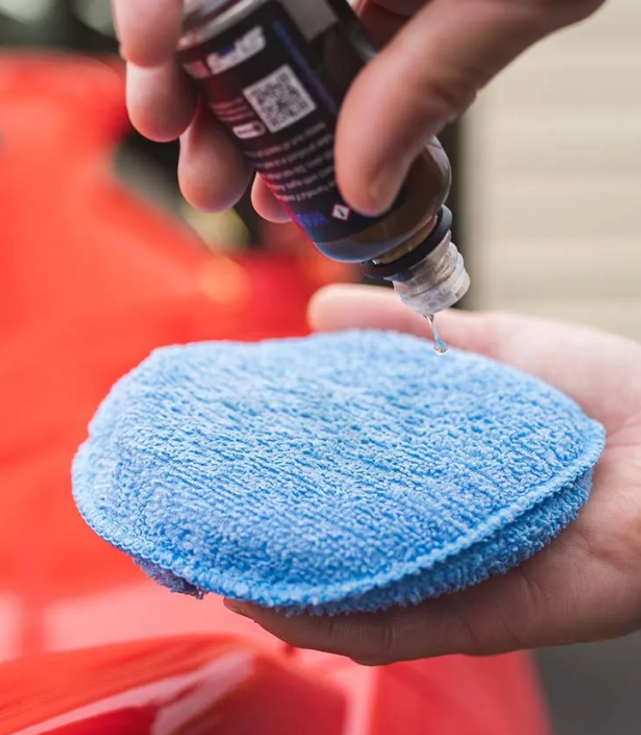
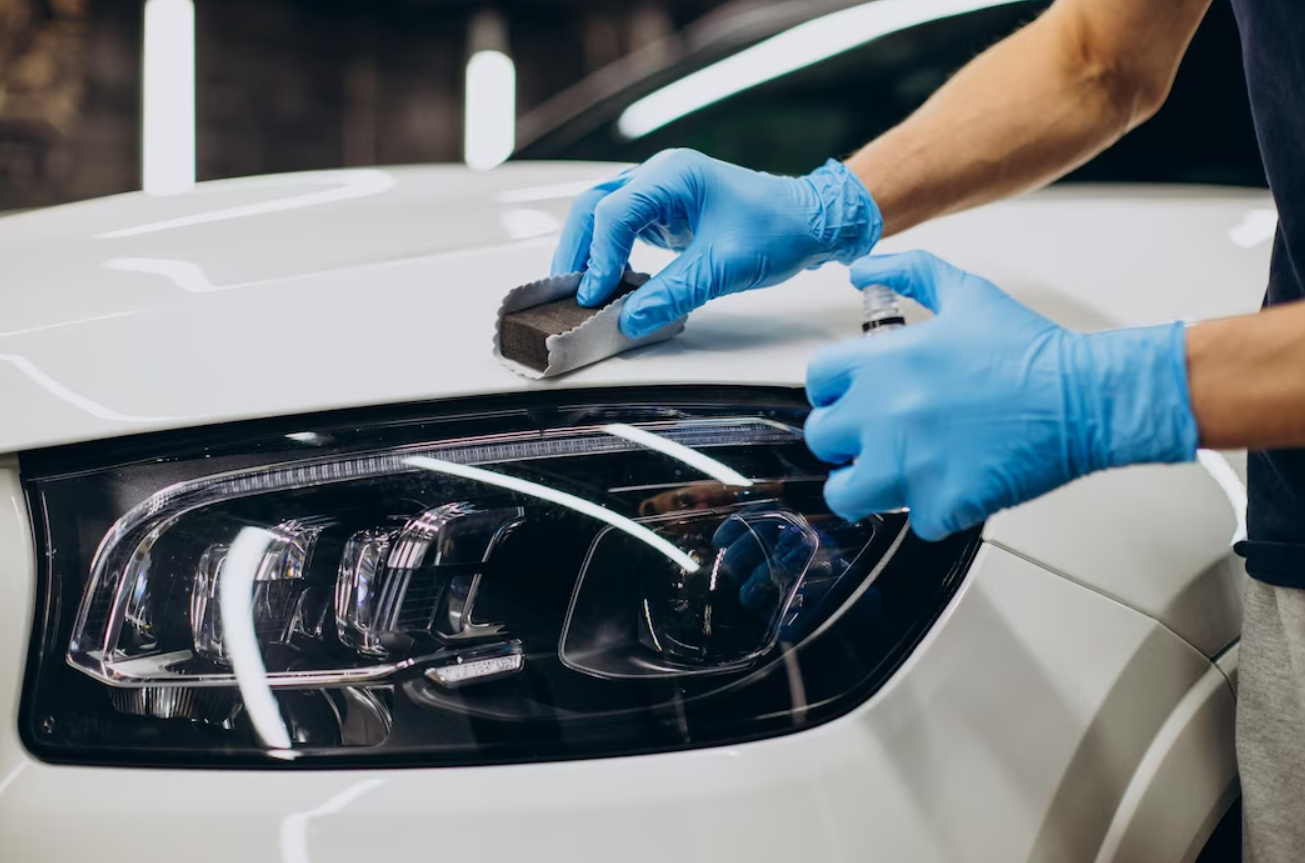
When applying the coating, use a suede applicator wrapped around a foam block to control the application. Apply a thin, even layer over small sections (about 2 square feet at a time). Use crosshatch strokes—first horizontally, then vertically—to ensure full coverage without missing spots or overlapping unevenly.
Timing is crucial when applying ceramic coatings. Monitor the flash time, which is typically between one and five minutes, depending on temperature and humidity. Flash time refers to when the solvents in the coating begin to evaporate, signaling that it’s time to buff. Acting too soon may cause smearing, while waiting too long can make it difficult to remove excess product.
After the coating has been applied, use a high-quality microfiber towel (at least 300 GSM) to wipe away excess product, leaving a smooth, shiny finish. To enhance durability, apply two to three thin layers of coating, allowing about an hour between layers for proper bonding.
After application, avoid washing or exposing the vehicle to heavy rain for at least 24 hours to allow the coating to fully harden. This curing time is essential for locking in the protection and shine.
Effective Curing Techniques
Once the ceramic coating is applied, the curing process begins. This is when the coating molecules bond tightly to the surface, creating the durable, glass-like shield that protects the paint. To ensure proper curing, the vehicle should remain in a clean, dust-free environment for 24 to 48 hours.
Temperature plays a key role in the curing process. Ideal temperatures range from 20°C to 25°C (68°F to 77°F), with relative humidity around 40% to 60%. Low temperatures can slow the bonding process, while high temperatures can cause solvents to evaporate too quickly, leading to uneven curing.
- Infrared Curing: Infrared (IR) lamps can accelerate the curing process. These lamps emit controlled heat, typically between 40°C to 50°C (104°F to 122°F), to help the coating cure faster without overheating or damaging the paint. Infrared curing involves moving the lamp over small sections of the vehicle for 15 to 30 minutes per section, ensuring even warmth.
- Full Cure: Even after infrared curing, the coating requires five to seven days to reach full cure. During this time, avoid washing or exposing the vehicle to harsh weather conditions like rain, snow, or intense sunlight, which can damage the uncured layer.
Essential Detailing Products
The quality of the products used during preparation plays a critical role in the final results. A pH-balanced car shampoo cleans effectively without damaging the paint or stripping away protective coatings. The clay bar, when used with the proper lubricant, removes surface contaminants that regular washing cannot reach. Using a dual-action polisher ensures that imperfections are corrected evenly and without risk to the paint.
For drying and buffing, microfiber towels are essential. These towels lift moisture and residue without leaving scratches or swirl marks. Ceramic coating applicators, typically foam or suede pads, allow for even product distribution, while infrared lamps accelerate the curing process, ensuring long-lasting results.
By following these professional surface prep methods and using the right tools and products, you can ensure that your ceramic coating not only lasts but also performs at its best. At Vehicle Enhancement Inc., we provide high-quality products and expert services to help you achieve the perfect finish for your vehicle.
If you’re looking for premium detailing supplies or need expert guidance, visit Vehicle Enhancement Inc. today.
Contact us or call (937) 361-7993.